Notebook 7 - Roof access
The following script establishes a simple rudimentary system for creating a roof access lattice. This lattice was needed for the later steps to be able to specify which rooms should grow up or down.
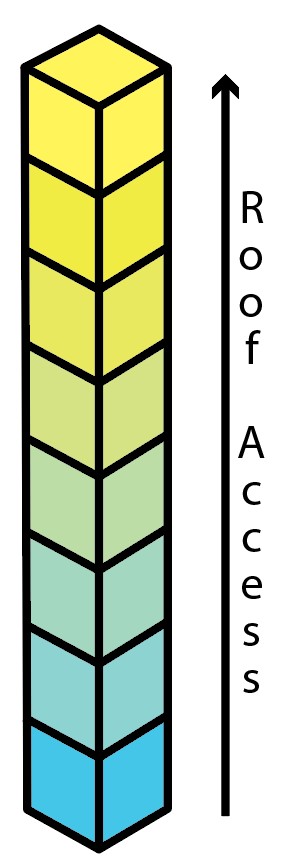
The script works on a simple principle. For each x,y a list of z values is saved, these values are then translated with a scalar to a lattice in which the maximum z has a value of 1.0 and the minimum of 0.0.
< br>This lattice is then exported to a CSV.
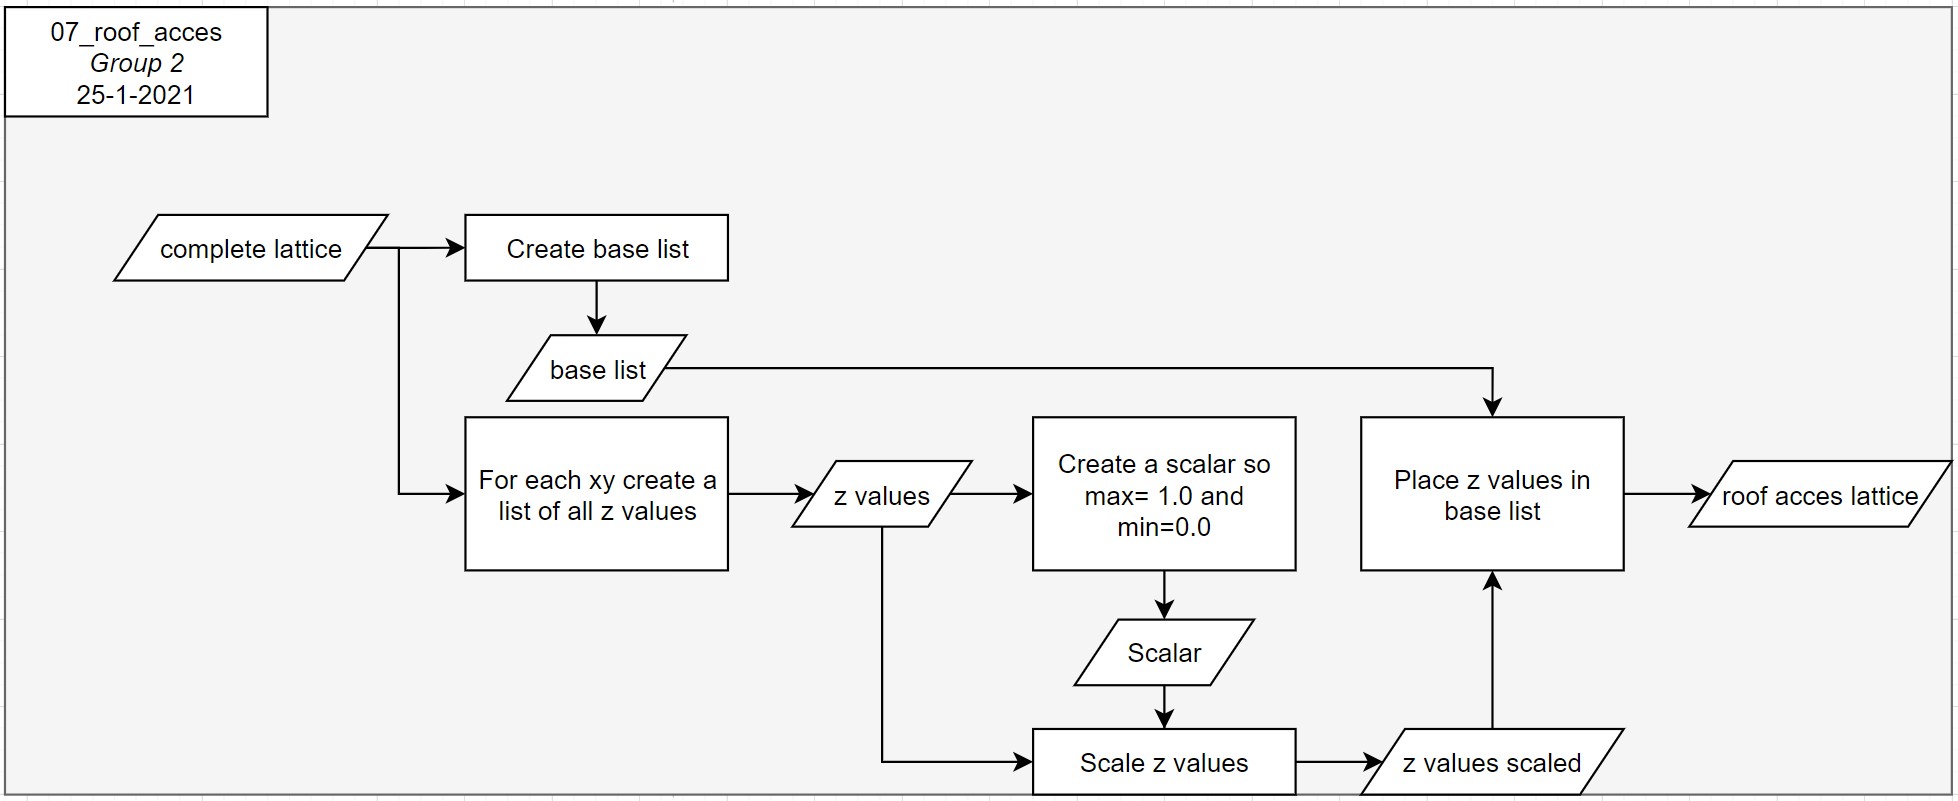
Flowchart
The flowchart as shown in Figure 48 is in the third (green) section of the fundamental flowchart as shown in the Planning - products.
Additional diagrams
The following Figure 49 visualizes the system used to establish the roof acces lattice.
Pseudo code
This is the Pseudo code for Notebook 7.
#Load the complete lattice
create a base list of ones in the shape of complete lattice

#Creating a base list filled with 0.0 and a list of [x, y,[all_z]]
for each voxel in base list
    val = 0.0
    add all z coordinates of x,y to a temporary list
    Establish z list as [x, y, [all_z]]

#Scale list by len of all_z so z_min = 0.0 and z_max = 1.0
for each voxel in z list
    scalar = 1 / length of [all_z]
    Establish z scaled as [x, y, [scaled z values]]

#Place scaled values into a proper lattice
for each voxel in z scaled
    x
    y
    for each value in scaled z values
        z
        set base list [x, y, z] as scaled z value

#Export roof access lattice
Export roof access lattice to 'roof_access_3_6.csv'
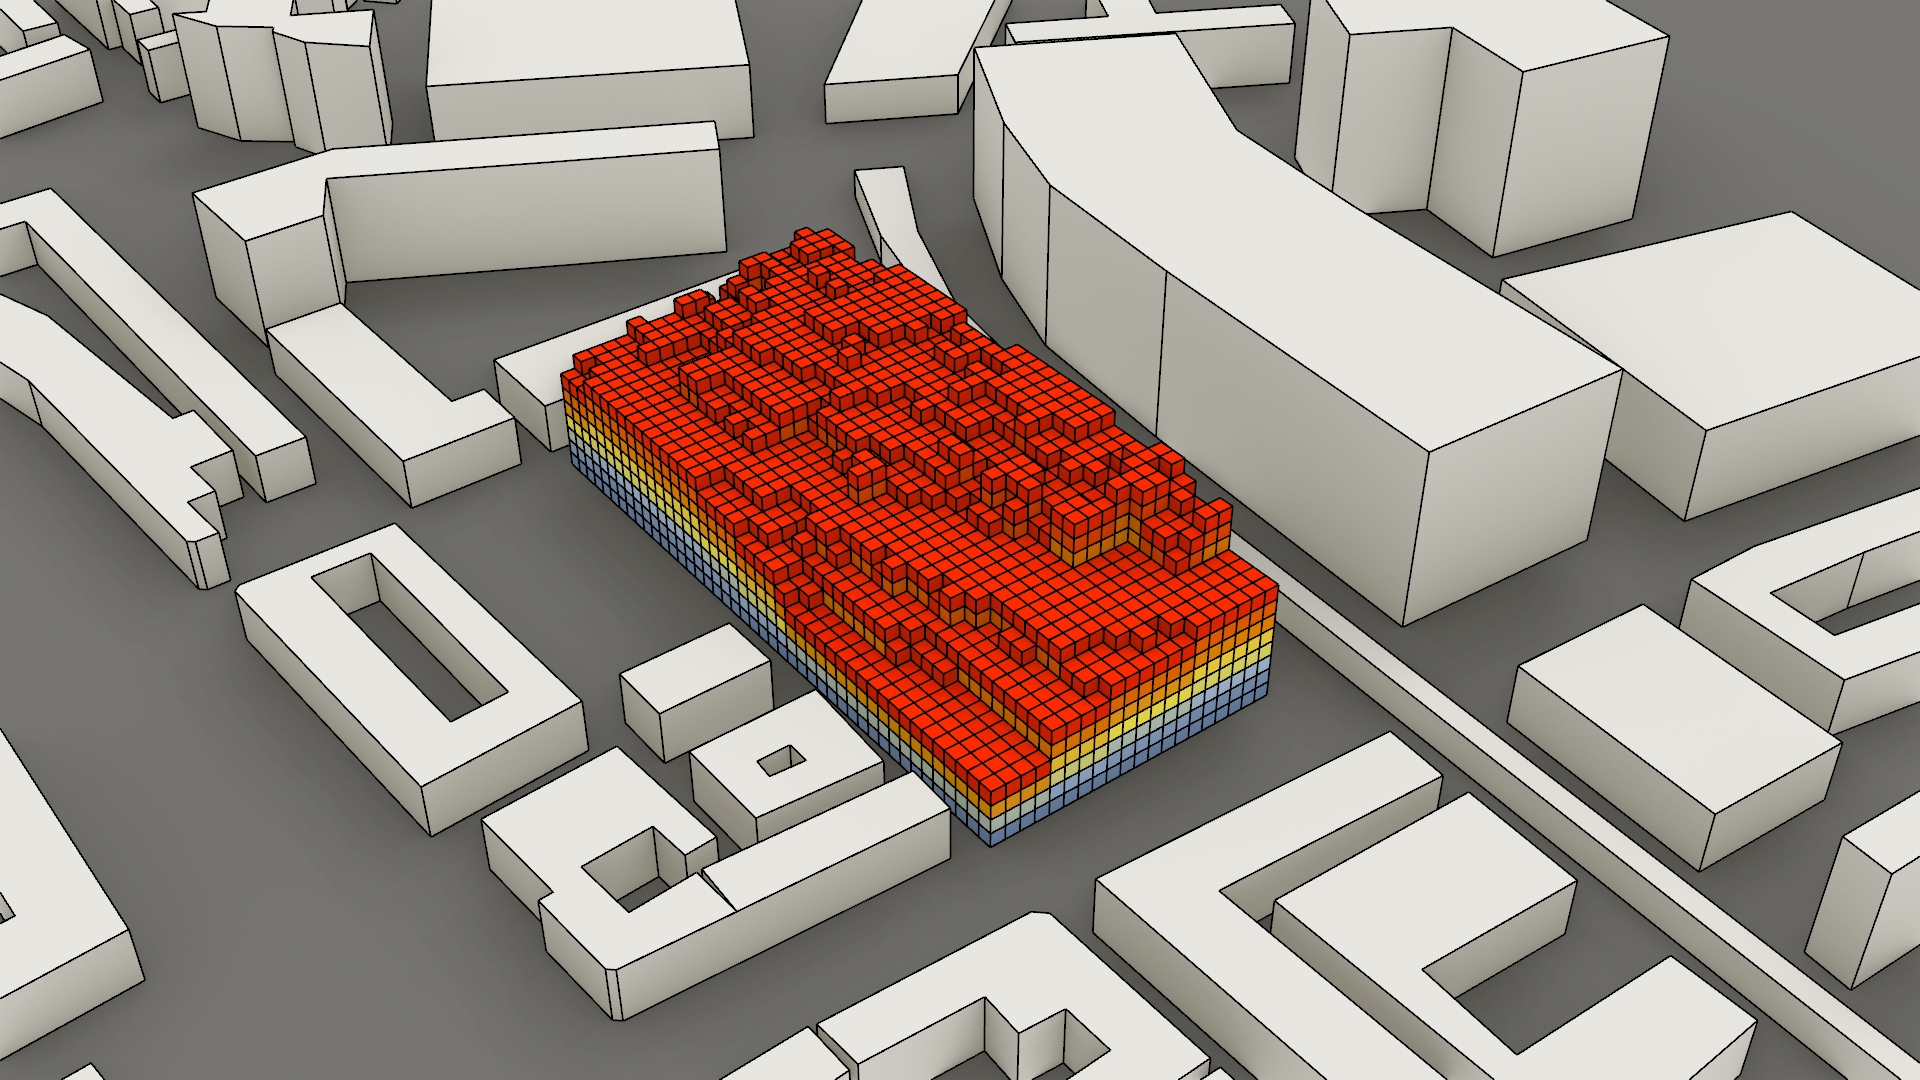
Visualisations of the result
GIF
Voxelcloud
Last update: January 27, 2021